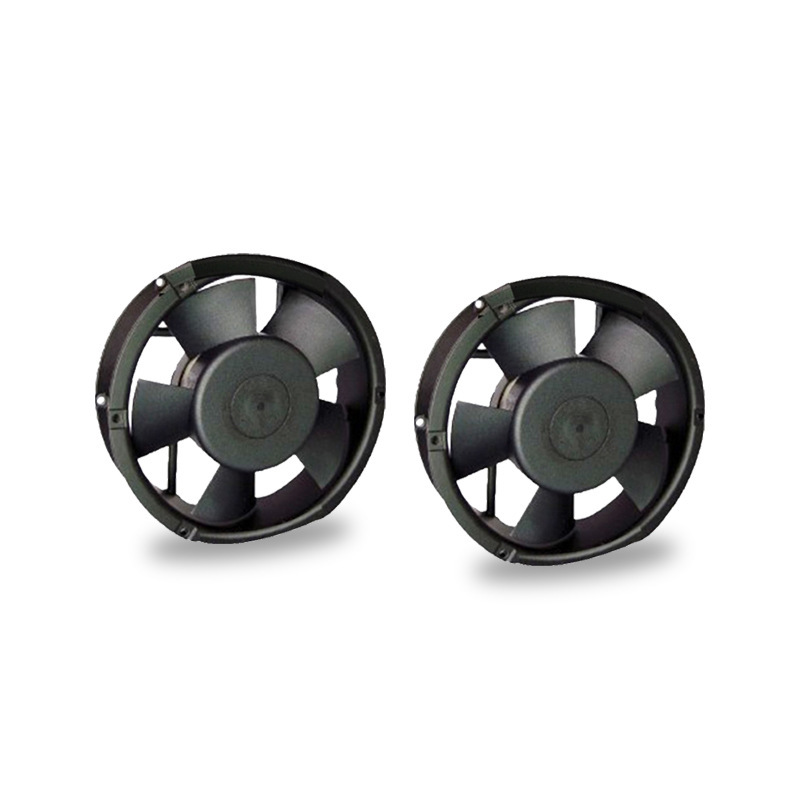
Firstly, we need to understand our computer CPU model and slot type, and whether the corresponding CPU cooler model matches. When choosing to buy a CPU fan, you also need to know the details of its size, noise control, speed, power connector, fixing method and heat dissipation components to identify the advantages and disadvantages.
1. CPU fan installation steps
1. Firstly, open your computer's main case, locate the CPU cooler and remove the casing around it;
2. then loosen the screws securing the CPU cooler and remove it from the motherboard;
3. Next, remove the four bolts from the CPU fan and pull out the bolts;
4. disconnect the power cord and pull the fan out of the cooler;

5. Finally, install the new CPU fan onto the motherboard and follow the above steps in reverse to secure it to the heatsink.
2. CPU fan debugging tips
1. Check if the fan is installed correctly and make sure the fan is in good contact with the CPU;
2. Provide proper heat dissipation to ensure that the fan's heatsink is in close contact with the CPU;
3. Use a temperature monitoring tool to monitor the CPU temperature in real time and adjust it according to the situation;
4. reinstall the fan and check for any loose or unstable conditions;
5. Clean the fan and heat sink to ensure good heat dissipation.
It is worth noting that we can achieve intelligent adjustment of CPU temperature by enabling the intelligent CPU fan control function, setting the CPUFanStart temperature at 24~35°C, and setting CPUFanOff(C) to be effective after the system enters S1 standby state. In addition, it is recommended to choose a CPU fan with intelligent adjustment function to achieve better heat dissipation.
In conclusion, the installation and debugging skills of CPU fans in DIY computers are very important. Through proper installation and debugging, we can ensure that the CPU fan works properly and provides effective heat dissipation, thus extending the life of the computer and improving the stability and operation of the computer.